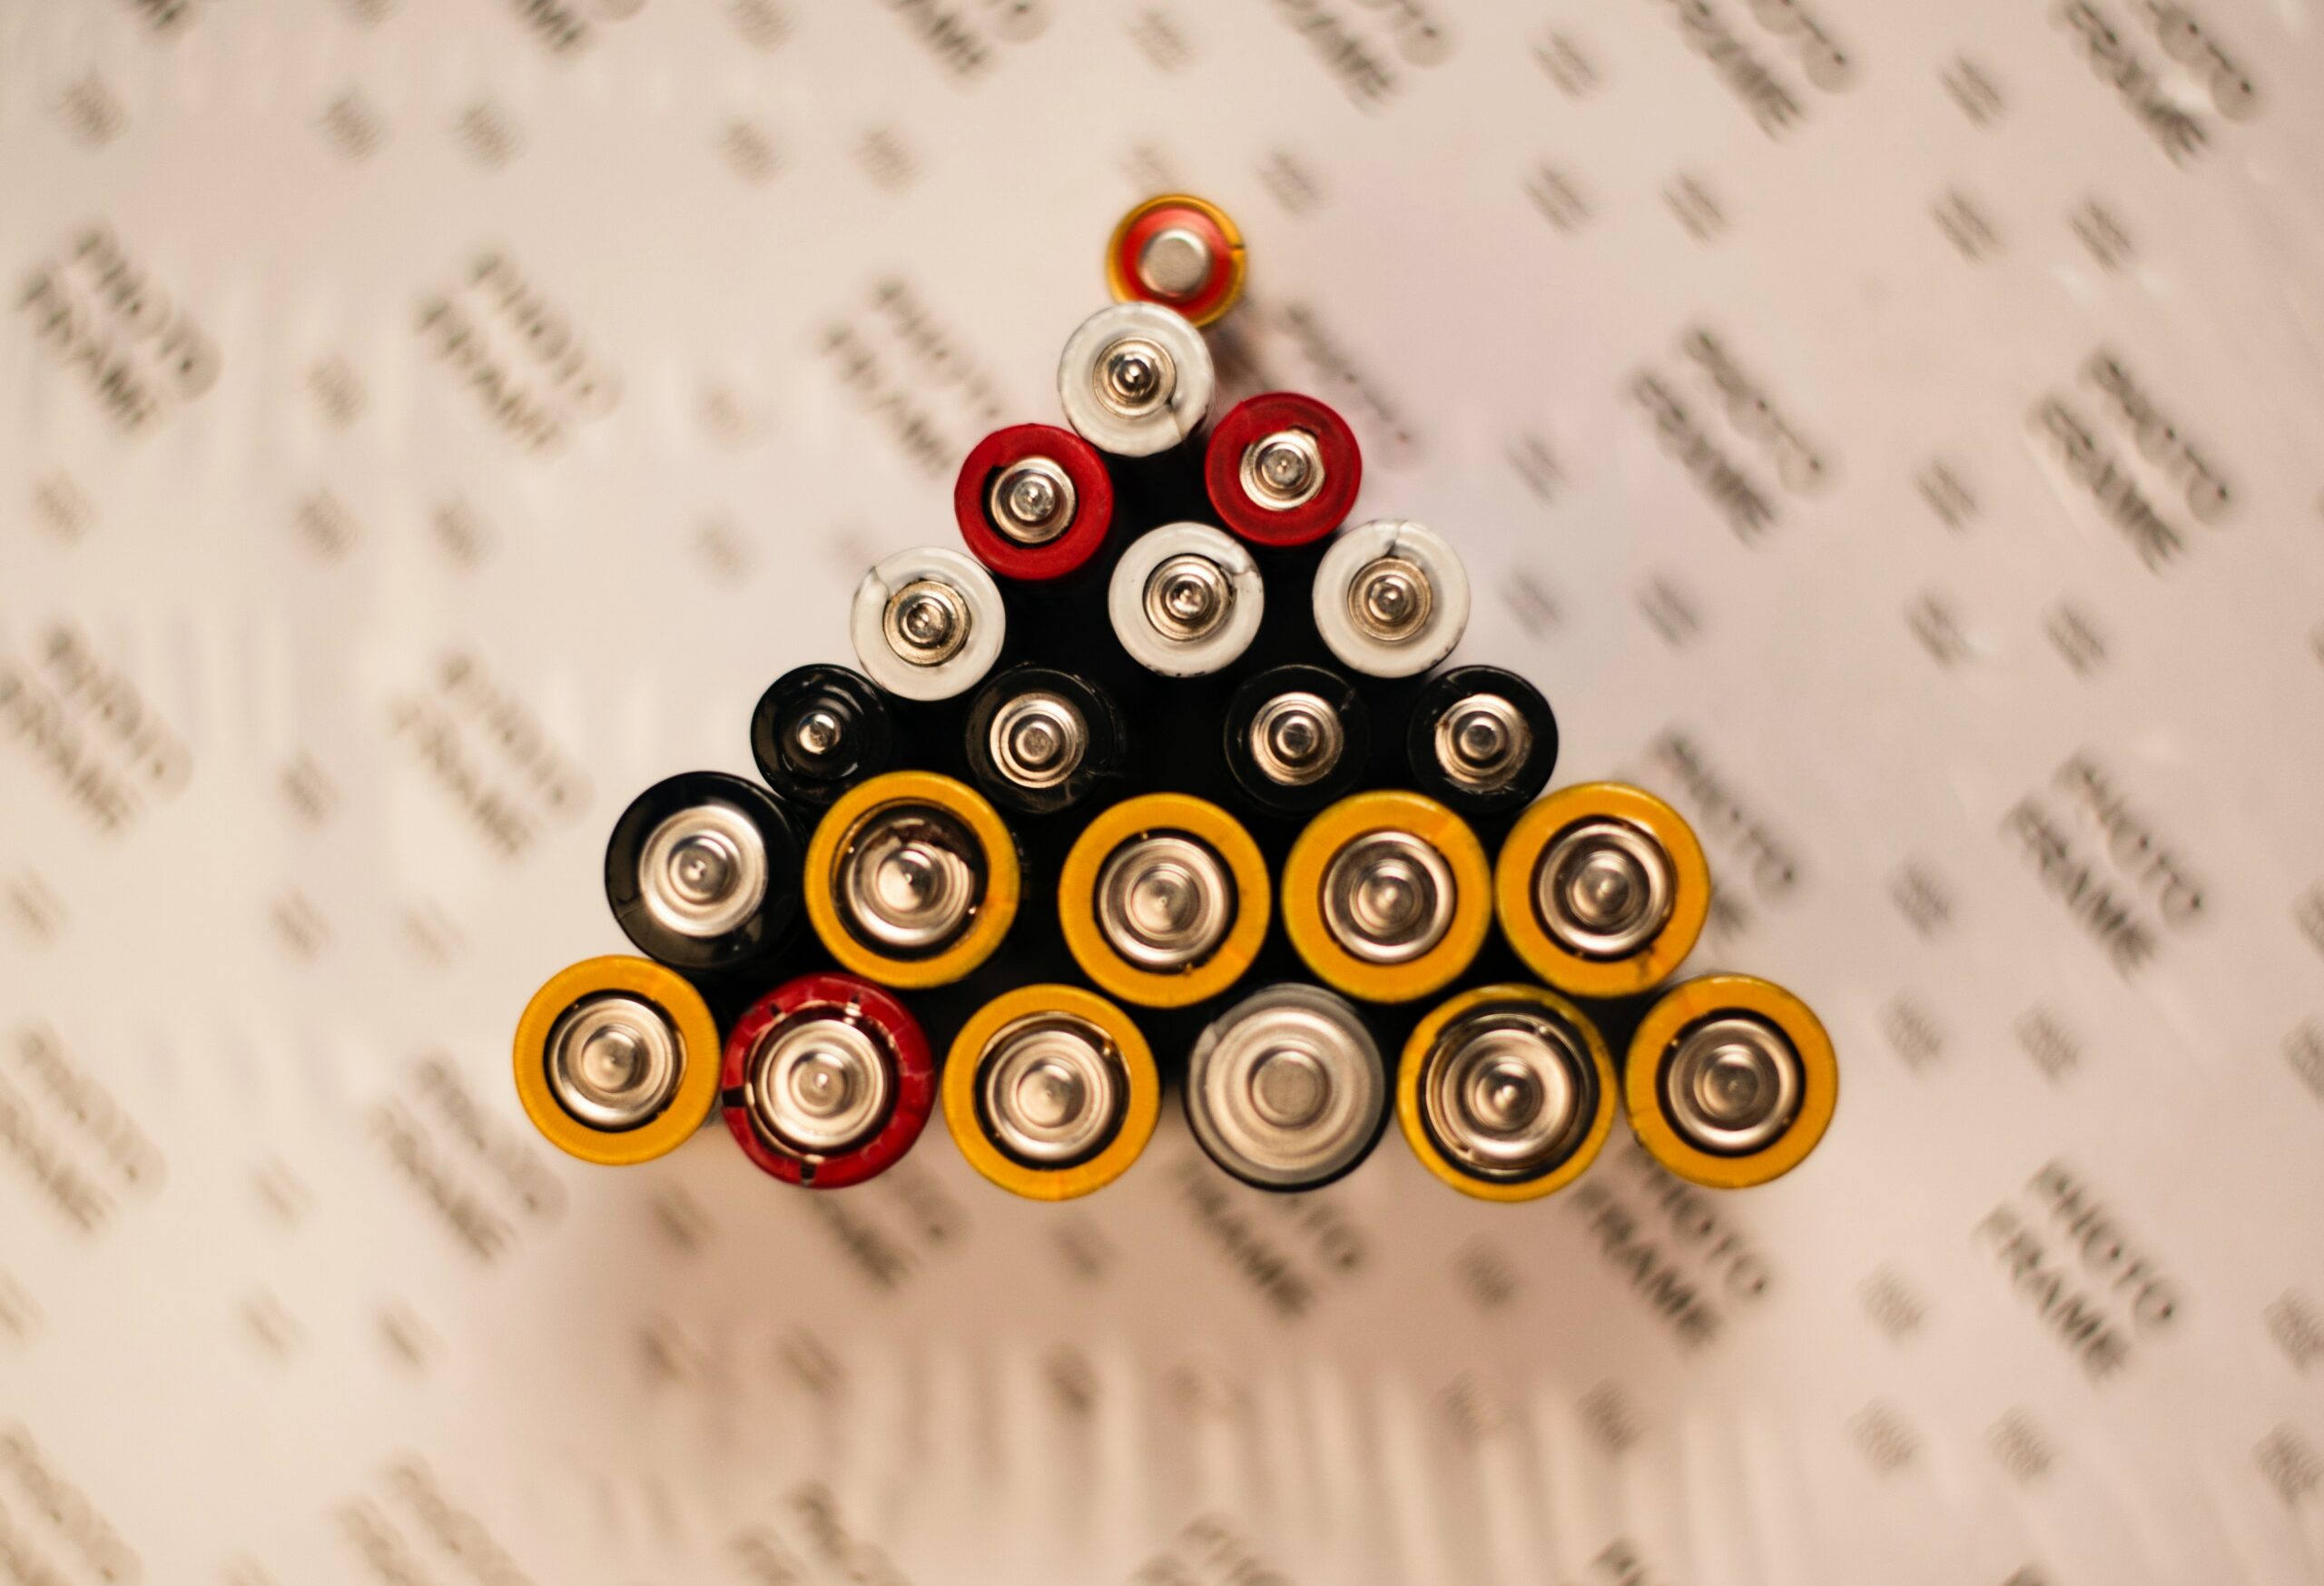
There’s nothing like being in the middle of a really immersive experience when you suddenly get interrupted by a notification that your batteries are low! If you have a self-contained headset like the Quest 2, the headset needs to be charged regularly. This is no problem though since it can just be plugged in. It’s a bigger deal with your controllers since many use their own batteries and will need attention periodically. I wish all companies would make chargeable controllers as with the HTC Vive and the Valve Index.
Controllers for Windows Mixed Reality, Oculus, and several other systems require AA batteries — the same batteries we use for some flashlights, remotes, and toys. These are cheap and easy to buy, but also generate landfill waste. Depending on your usage, these batteries can last from a few days with very heavy usage to weeks with lighter usage. You might want to try rechargeable batteries, but it’s not a one-to-one comparison.
Keep reading to learn about the options for keeping your controllers charged and ready to go with the least hassle.
1. Non-rechargeable alkaline batteries
The standard non-rechargeable batteries are called alkaline. This is a chemical process that produces our power, but once exhausted must be thrown away. Most likely the vast majority of batteries you’ve ever bought or used have been alkaline. They’re cheap, work pretty well, and can’t be reused.
2. Common rechargeable batteries
If you’ve ever been frustrated enough, you might have bought a pack of rechargeable batteries. Rechargeable batteries come in various forms. We all have a form of them in our cell phones and laptops, but these are very different from the ones we buy and replace in remote controls and toys. These use a different chemical technology: either NiCd (nickel-cadmium, invented in Sweden in 1899!) or NiMH (nickel-metal-hydride, invented in Switzerland in 1967). The chargers are pretty cheap and typically take a few hours. Unfortunately, these batteries usually don’t last as long as the alkaline ones. There’s more than one reason for this.
First, most NiCd/NiMH batteries will lose some of their charge even when not being used (known as self-discharge). Technically, this is also true with alkaline, but it’s such a slow rate we don’t worry about it. This isn’t the biggest problem though anyway. Standard AA batteries run at 1.5v (volts). As a point of comparison, your regular wall outlets are 120v and your dryer runs on 240v (at least in the US). A controller that takes two AA batteries runs on 3v. As the battery is used, the voltage drops. Each product is slightly different, but even at 2.6v you might get warnings.
All batteries are not created equal
Now here’s the fun part. Remember those NiCd and NiMH batteries? When fully charged, they’re only 1.2v each. Yep! Even at full, they are only at 80% of the level of alkalines. It’s not quite that simple in practice though, since different battery chemistries have other characteristics, but for this discussion, you start with less power (in volts), so those warnings will start all the quicker. Running your controllers at 2.4v (2 rechargeables) worries the device from the get-go (some devices specifically say not to use rechargeable batteries since they are more sensitive to the voltage drop)!
3. Lithium to the rescue!
If you don’t want to keep throwing away batteries but want the full voltage, you’re in luck. There is another option! You can buy batteries using similar technology as your laptop and cell phone — Lithium. These are more expensive and require a different kind of charger, although some let you plug the batteries into a USB charging cord directly. This is the kind that I use, and they work great! They run at a full 1.5v so appear identical to AA batteries. They do have a minor difference in how they run down, so you might not get low battery warnings until they are nearly dead, but that’s a small price to pay.
A better way to charge your controllers
Regardless of battery type, at some point you’ll need to remove the battery cover to pop out the batteries which is usually a minor pain (yeah, yeah… first world problems). Depending on your setup, you might be able to buy an accessory that replaces your battery compartment completely. These units include an integrated battery pack along with a connector for a cable, or even support for wireless charging. I still don’t understand why this isn’t standard these days, but no one asked me…
4. Upgrade your battery compartment
For a lower budget option, there’s simple battery compartment replacements. I like this style a lot since you can do it yourself if you want to. Buy USB-rechargeable batteries (like in #3 above), buy magnetic USB adapters (such as the set by Terasako), and drill holes in your battery covers! For the Quest 2, you can buy a kit such as the Hibloks Magnetic Charge kit for this. It would be easy enough to do on your own for other controllers though too.
5. Go all the way with a full charging dock!
If you have the Quest 2, you’re spoiled with choice for recharging options! I love options like the Anker Charging Dock that makes it easy to charge your controllers and the headset at the same time. It’s a bit pricey but is so convenient! There are other options too, but Anker is known for consistent quality and support. You may be able to buy docks for other headsets, but the Quest has the largest selection since it’s so popular.
Summary
You don’t need to keep buying a steady stream of new AA batteries! Even if your controllers don’t have rechargeable accessory packs, you can be a little creative and find solutions that work for you!

